
Every Nanit Pro system uses the same camera. What changes is the stand or mount that holds it above your baby's sleep space. This guide covers what you should find in the box and how each option goes together.
What is in the box
- Nanit Pro camera.
- Your stand or mount.
- A newborn Breathing Band and newborn pyjamas.
- USB-C cable and Australian power adapter.
- Quick start guide.
The Floor Stand and Wall Mount systems also include a Flex Stand for travel. The Wall Mount system includes wall anchors.
Setting up each stand
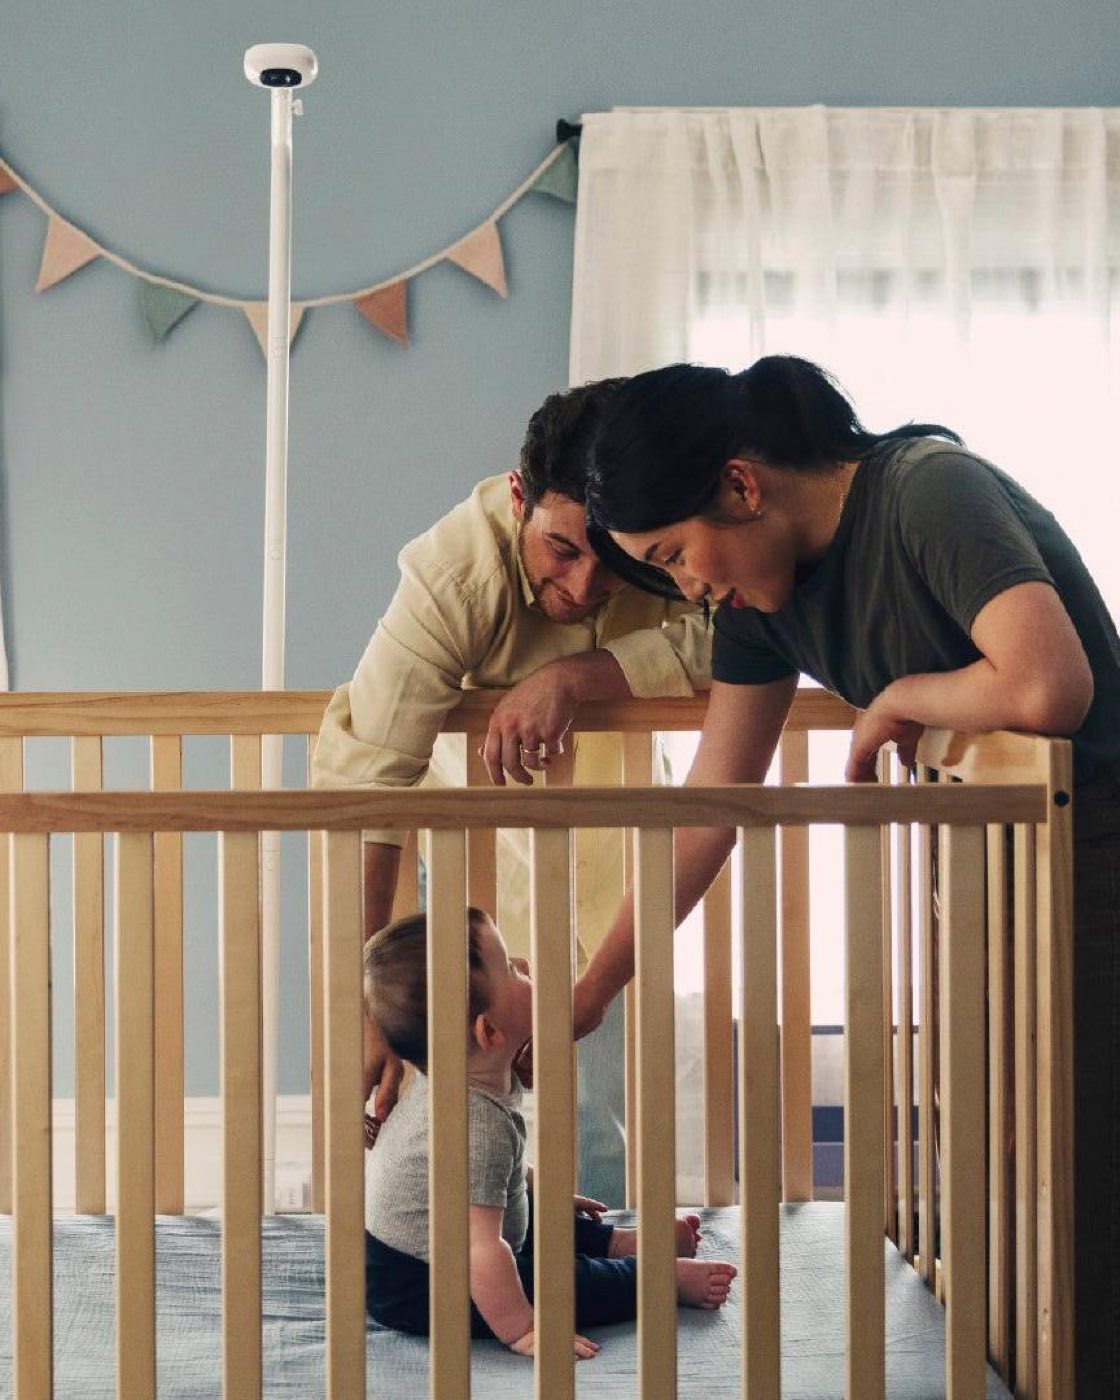
- Floor Stand: freestanding, with no drilling. Adjust the height so the camera sits directly over the cot. Allow about 10 minutes.
- Wall Mount: fixes to the wall above the cot and has a channel for the cable. You will need a drill and the two wall anchors. Allow about 15 minutes.
- Flex Stand: no tools needed. The flexible neck wraps onto a bassinet rail, shelf or travel cot, and it folds flat into its pouch. Allow about 5 minutes. Breathing motion monitoring does not work on the Flex Stand, because it needs the camera directly above the cot on a Floor Stand or Wall Mount.
Connecting to Wi-Fi
The camera needs a 2.4GHz home network. It will not connect to a network that is 5GHz only. If it will not connect:
- Check that your network is 2.4GHz.
- Move the camera within range of your router while you set it up.
- Restart both the camera and the router, then try again.
Changing your setup later
Stands and mounts are sold separately, so you can add a different one later and keep using the same camera.
Need more help?
If something is missing from the box or the camera still will not connect, send us a request and our Melbourne team will help.

Was this article helpful?
That’s Great!
Thank you for your feedback
Sorry! We couldn't be helpful
Thank you for your feedback
Feedback sent
We appreciate your effort and will try to fix the article